📚코드로 배우는 스프링 부트 웹 프로젝트를 통해 공부한 내용들을 정리해보았습니다.
타임리프의 레이아웃 기능은 크게 2가지 형태로 사용할 수 있습니다.
- JSP의 include와 같이 특정 부분을 외부 혹은 내부에서 가져와서 포함하는 형태
- 특정한 부분을 파라미터로 전달해서 내용에 포함하는 형태
3.4.1 include 방식의 처리
th:insert나 th:replace 특정한 부분을 다른 내용으로 변경할 수 있는 기능
th:replce는 기존의 내용을 완전히 "대체"하는 방식이고
th:insert는 기존 내용의 바깥쪽 태그는 그대로 유지하면서 추가되는 방식입니다.
fragment1.html
  <div th:fragment="part1">
    <h2>Part 1</h2>
  </div>
  <div th:fragment="part2">
    <h2>Part 2</h2>
  </div>
  <div th:fragment="part3">
    <h2>Part 3</h2>
exLayout1.html
  <h1>Fragment Test</h1>
  <h1>Layout 1 - 1</h1>
  <div th:replace="~{/fragments/fragment1::part1}"></div>

  <h1>Layout 1 - 2</h1>
  <div th:insert="~{/fragments/fragment1::part2}"></div>

  <h1>Layout 1 - 3</h1>
  <th:block th:replace="~{/fragments/fragment1::part3}"></th:block>
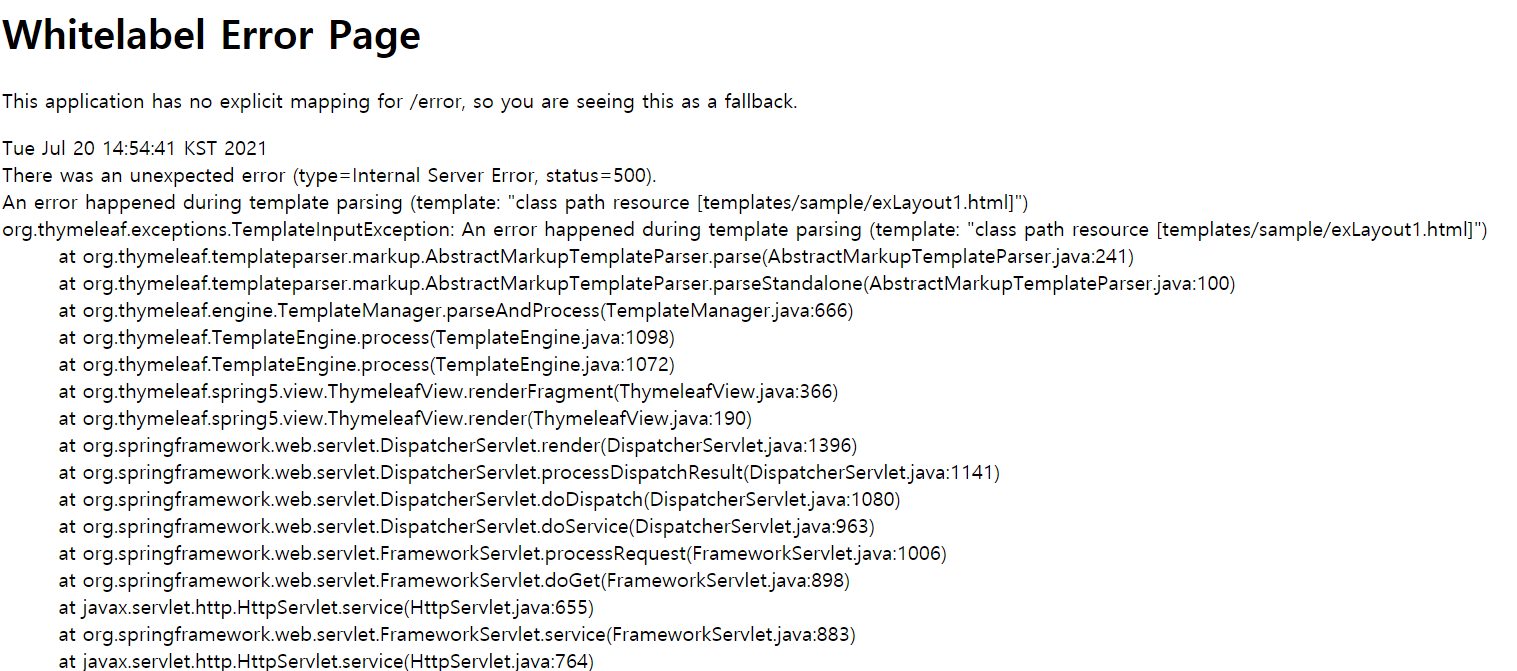
500에러가 난다 😂 내일 다시 해봐야지..!

실행화면

part2는 insert를 사용했기 때문에 div 안에 또 다른 div가 들어가 있는 것을 확인할 수 있습니다.
'th:replce'를 이용할 때 :: 뒤에는 fragement이름을 지정하거나 / CSS의 #id와 같은 선택자를 이용할 수 있습니다.
만일 "::"이하를 생략하면 해당 파일의 전체 내용을 가져올 수도 있습니다.
fragment2.html
  <div>
    <hr/>
    <h2>Fragment2 File</h2>
    <h2>Fragment2 File</h2>
    <h2>Fragment2 File</h2>
    <hr/>
  </div>
추가된 exLayout1.html
  <h1>Fragment Test</h1>

  <div style="border:1px solid blue">
      <th:block th:replace="~{/fragments/fragment2}"></th:block>
  </div>

  <h1>Layout 1 - 1</h1>
  <div th:replace="~{/fragments/fragment1 :: part1}"></div>

  <h1>Layout 1 - 2</h1>
  <div th:insert="~{/fragments/fragment1 :: part2}"></div>

  <h1>Layout 1 - 3</h1>
  <div th:replace="~{/fragments/fragment1 :: part3}"></div>
코드에서 th:replace="~{/fragments/fragment2}" 부분에 '::'로 처리되는 부분이 없으므로 전체 내용을 반영하게 됩니다.
실행화면

파라미터 방식의 처리
타임리프를 이용하면 특정한 태그를 파라미너처럼 전달해서 다른 th:fragment에서 사용할 수 있습니다.
SampleController
   @GetMapping({"/exLayout1","/exLayout2"})
    public void exLayout1(){
        log.info("exLayout.........");
    }
fragement3.html
<div th:fragment="target(first,second)">

      <style>
          .c1 {
            background-color: seagreen;
          }
          .c2 {
            background-color: sandybrown;
          }
      </style>

      <div class="c1">
          <th:block th:replace="${first}"></th:block>
      </div>

      <div class="c2">
        <th:block th:replace="${second}"></th:block>
      </div>

  </div>
선언된 target부분에 first와 second라는 파라미터를 받을 수 있도록 구성했습니다. 내부적으로는 th:block으로 표현하고 있습니다. 실제 target을 사용하는 작업은 exLayout2.html로 진행합니다.
exLayout2.html
<th:block th:replace="~{/fragments/fragment3::target(~{this::#ulFirst},~{this::#ulSecond})}">

  <ul id="ulFirst">
    <li>AAA</li>
    <li>BBB</li>
    <li>CCC</li>
  </ul>
  <ul id="ulSecond">
    <li>111</li>
    <li>222</li>
    <li>333</li>
  </ul>

</th:block>
exLayout2.html에는 화면 구성과 관련된 기능이 없지만. target을 사용할 때 파라미터 2개를 사용합니다.
최종 결과는 fragements/fragement3.html의 일부로 전달된 #ulFirst #ulSecond를 사용하게 됩니다.
실행결과

'🏰 Back-end > Spring Boot' 카테고리의 다른 글
| [Spring Boot] 레이아웃 템플릿 만들기 (0) | 2021.08.02 |
|---|---|
| [Spring Boot] 링크 처리 (0) | 2021.07.18 |
| [Spring Boot] inline 속성 (0) | 2021.07.18 |
| [Spring Boot] 제어문 처리 (0) | 2021.07.16 |
| [Spring Boot] 반복문의 상태 객체 (0) | 2021.07.15 |


댓글